FOOTPADS
The following tutorials are about feet and footpads ! There are videos, pdf downloads or read online.
Hope they help x Enjoy !
CREATING SIMPLE EMBROIDERED FOOTPADS
These can be the trickiest part of bear-making. Just take your time and you'll be pleased with the results : )
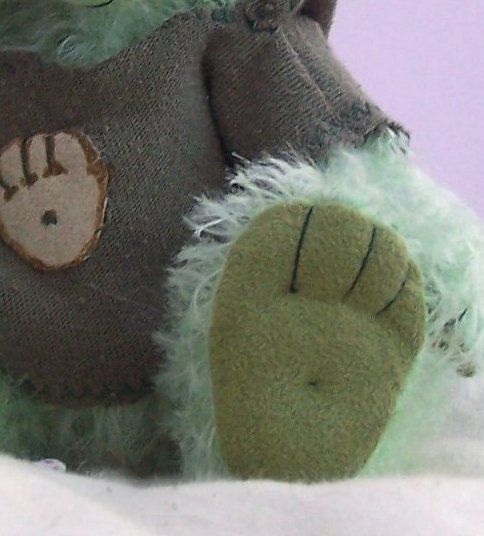
Start by looking at the leg. Snipping into the seam just above the foot, on the curve, will give the leg a better appearance, avoiding wrinkles. Make sure you don't clip your stitches !
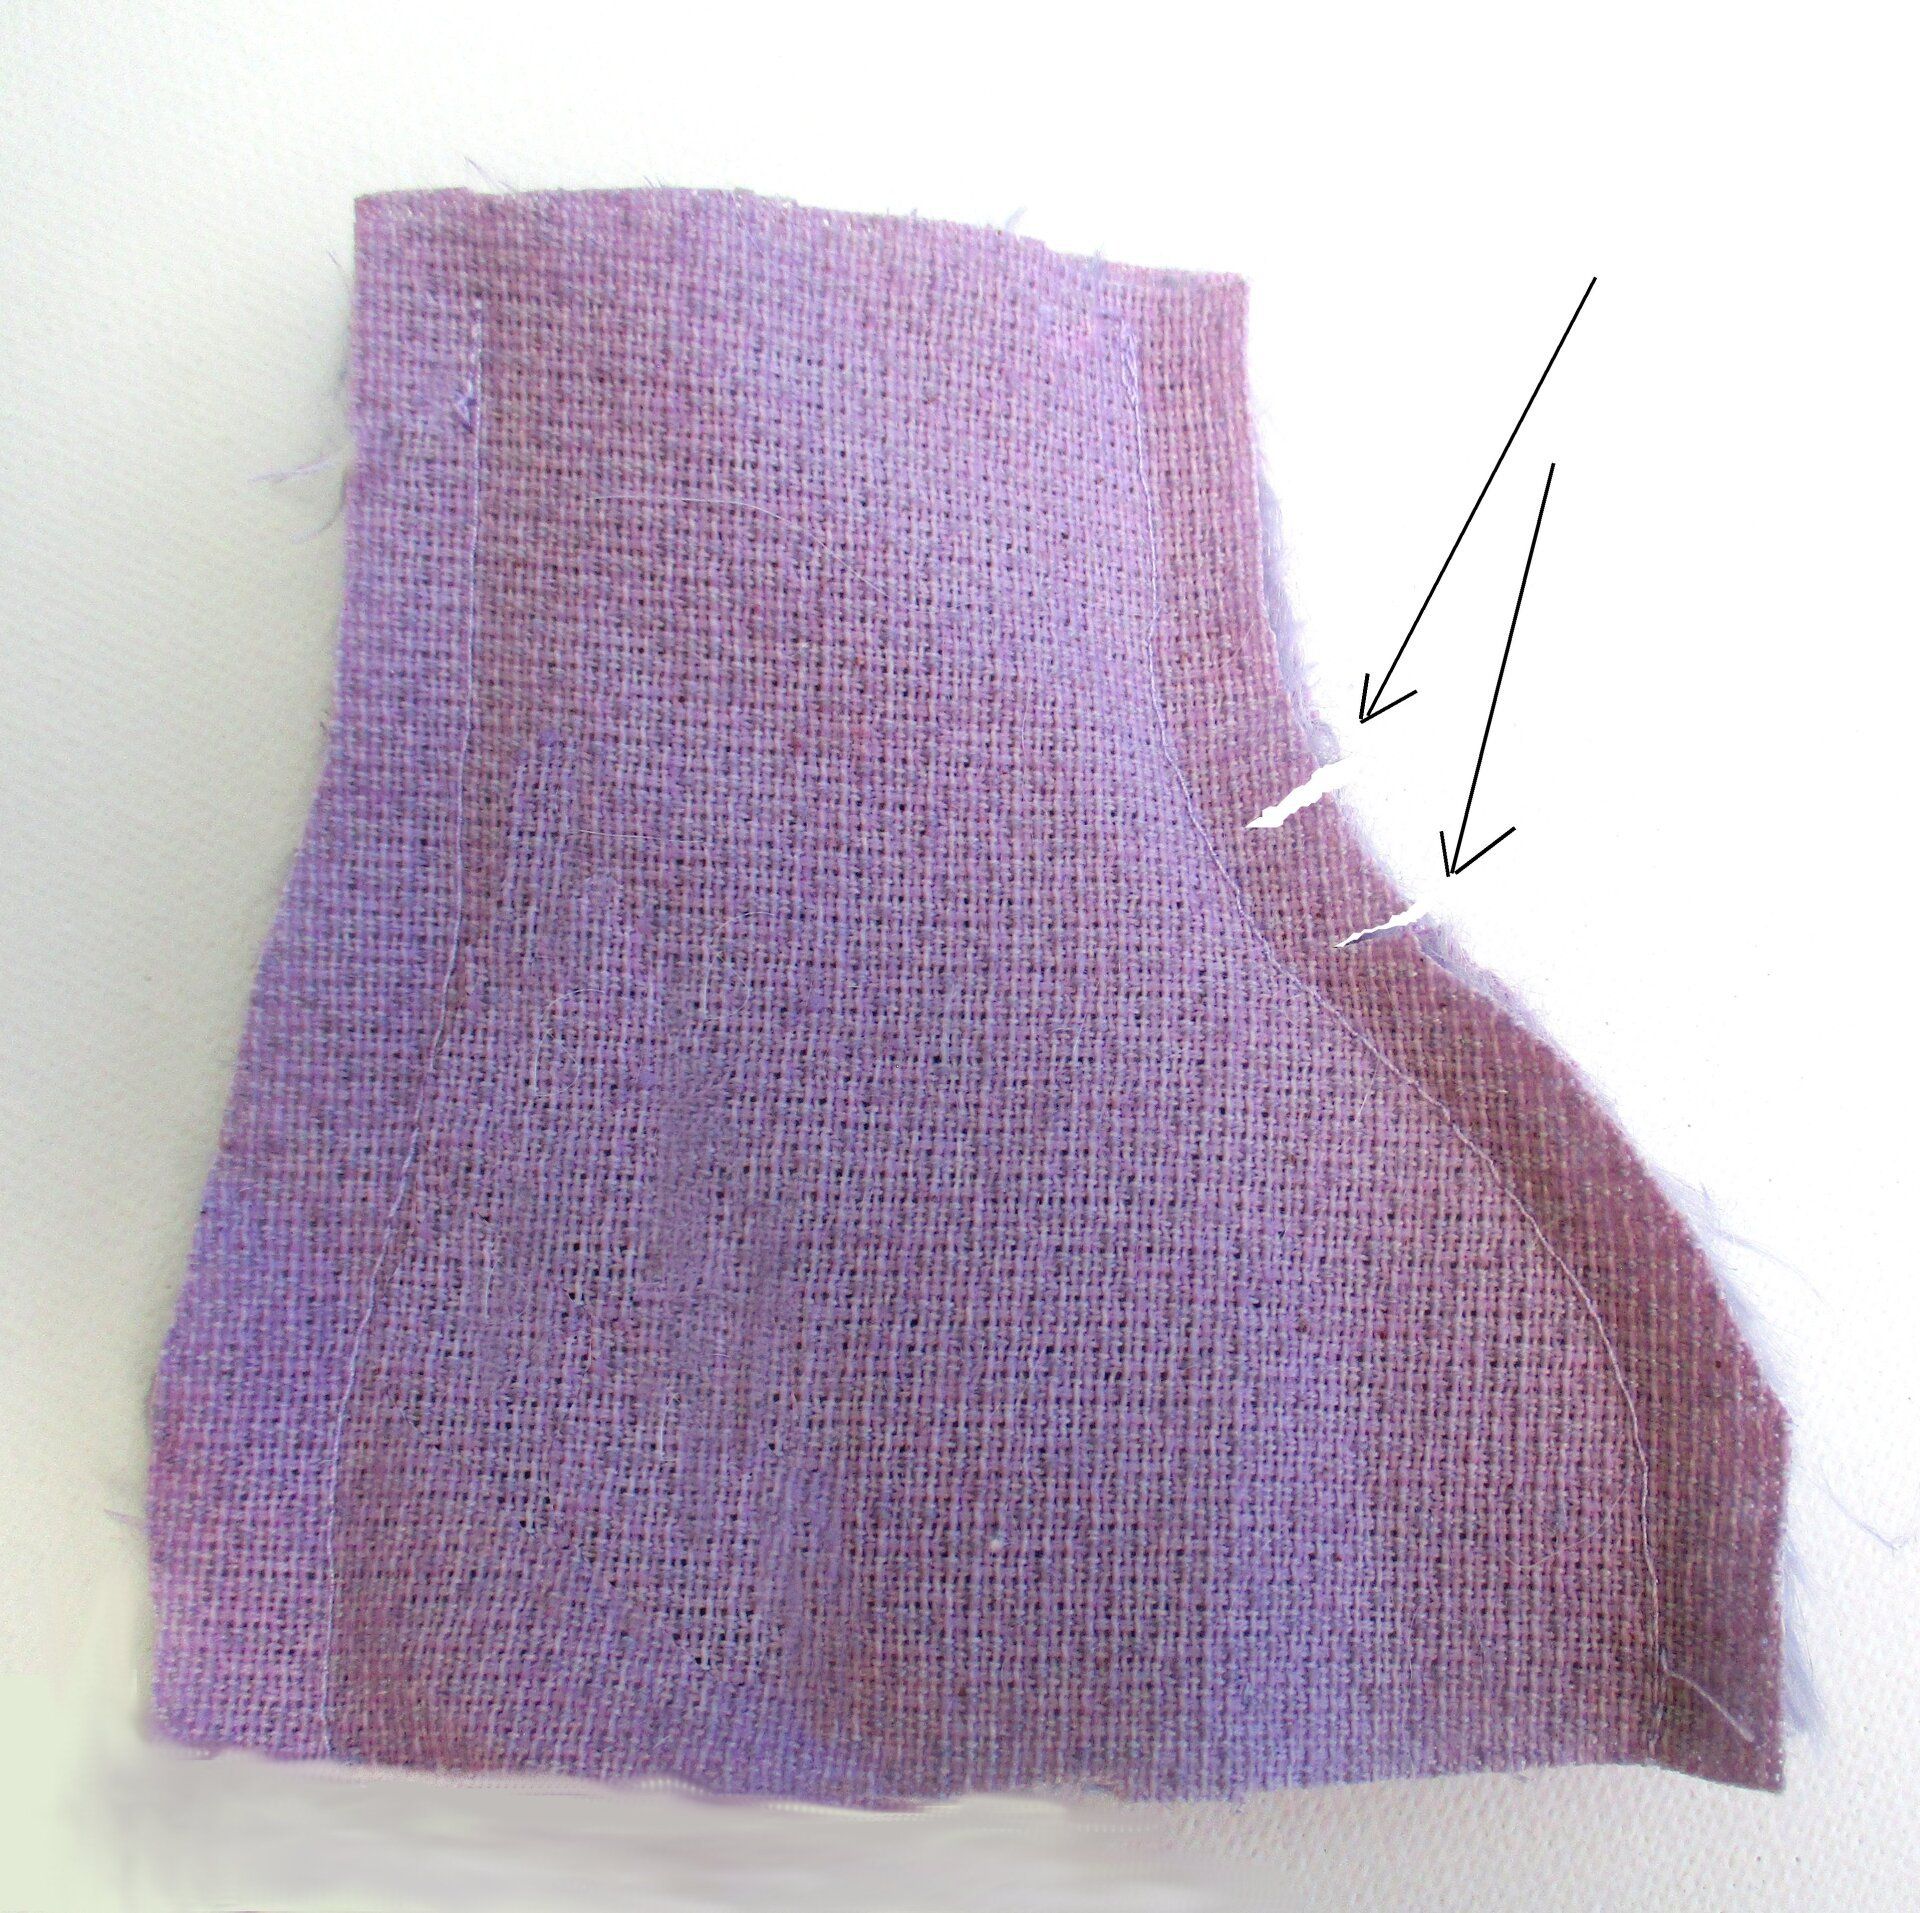
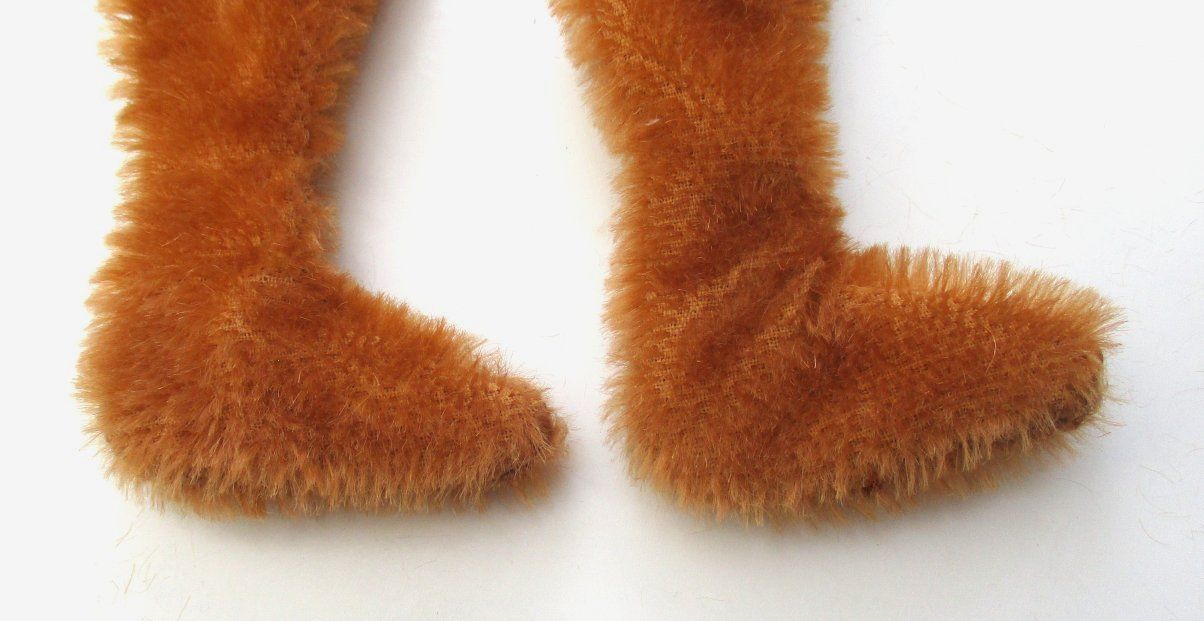
You can see the difference just doing this can make in the image below. The leg on the left has been clipped in the seam, the leg on the right has not, and you can see the wrinkles forming. These are evened out a little when the leg is stuffed, but can "pulling" on the seam's curve can still spoil those chubby legs : )
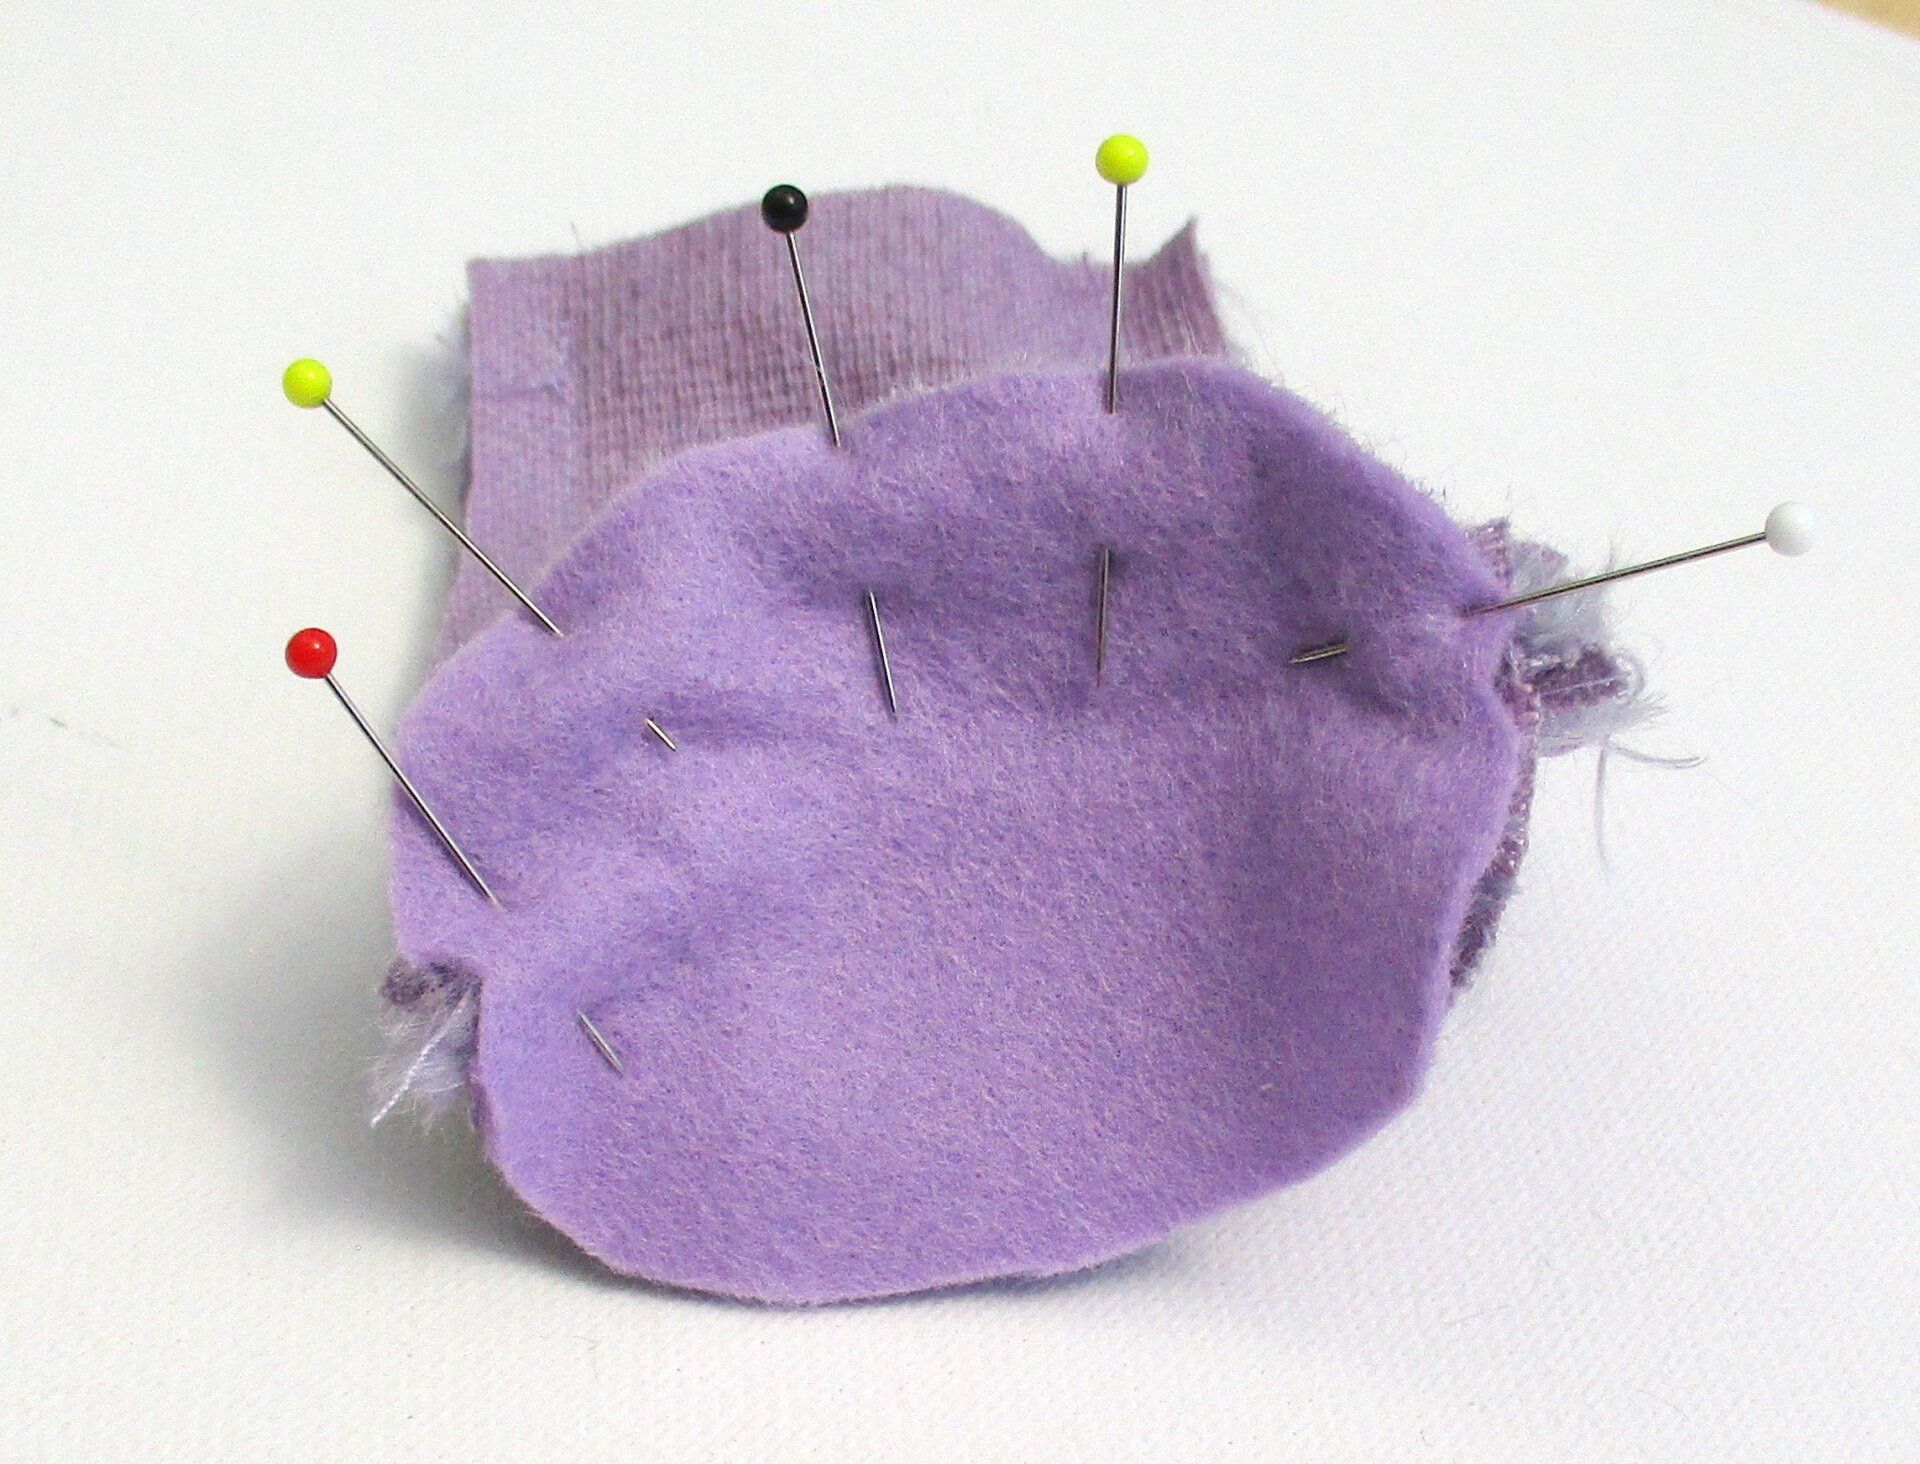
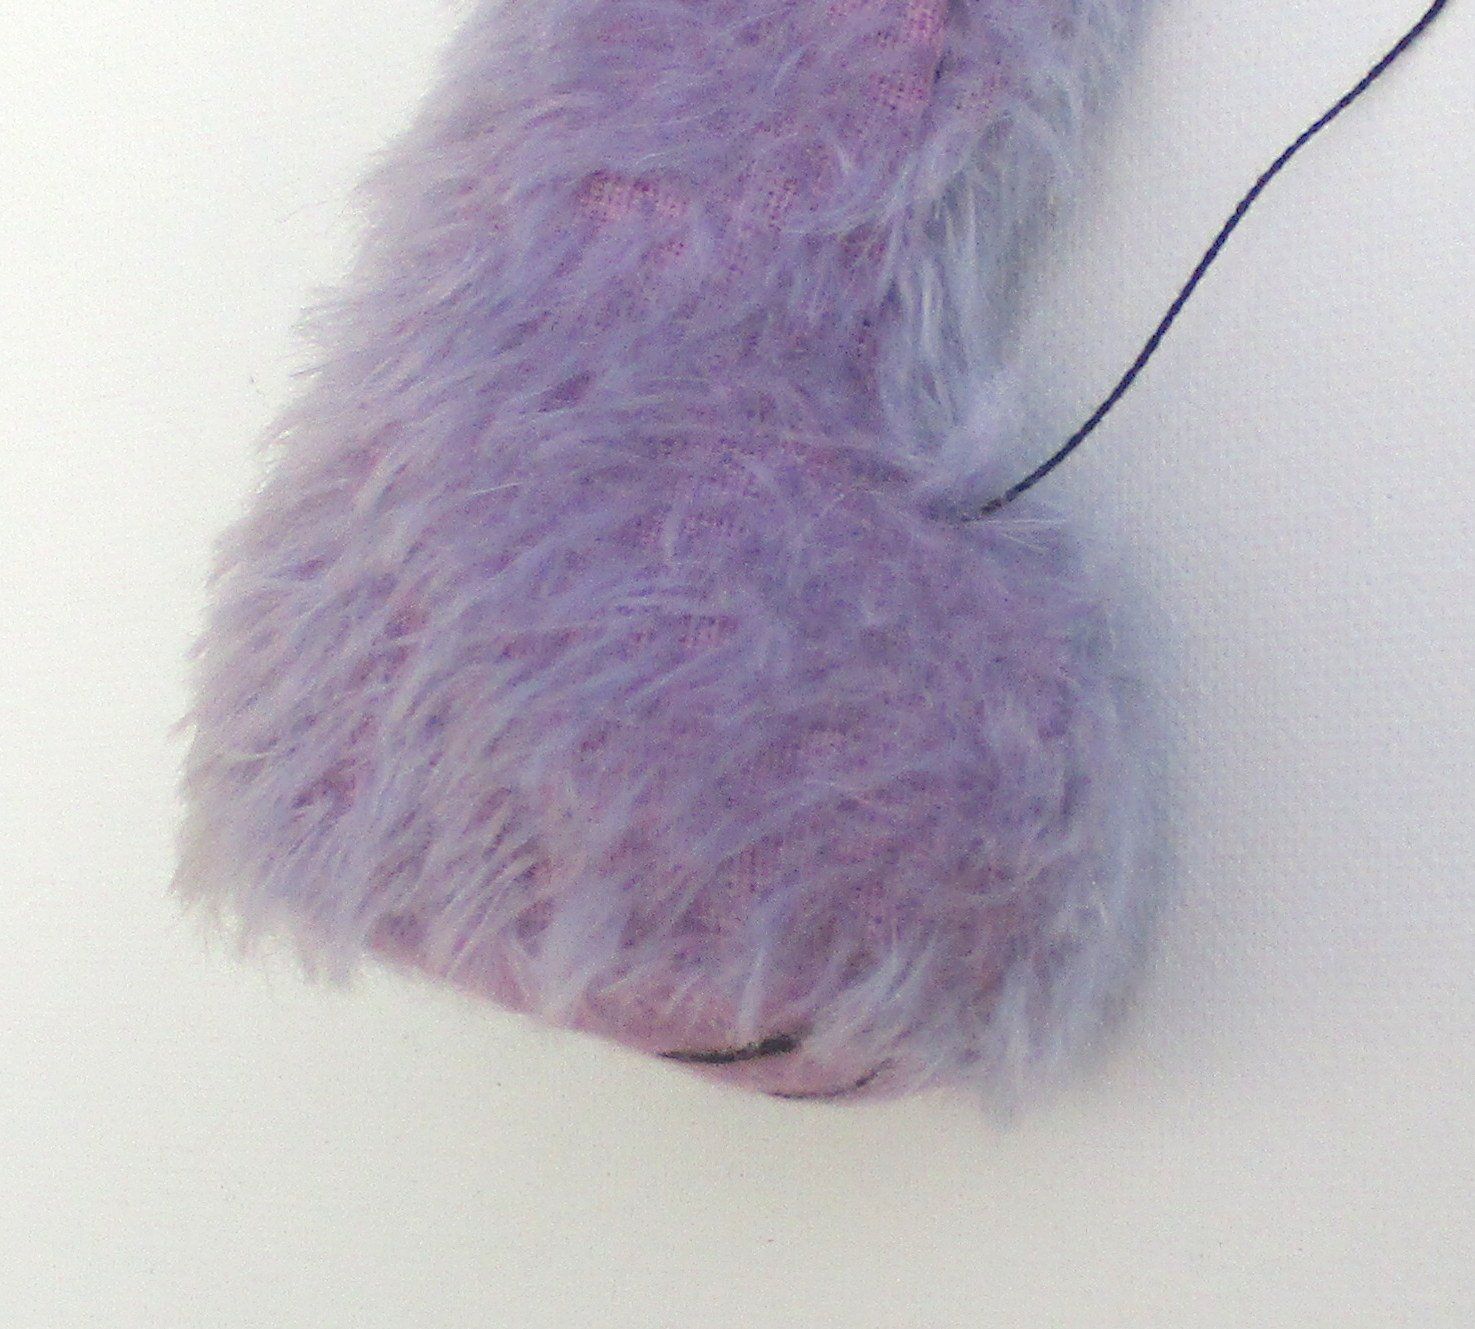
- Now we can fit the footpad to the leg. Mark the center front and back of the footpad and pin both of these to the leg seams. Continue pinning down one side only for now. Set the pins at right angles to the edge.
- For mini bears, it is impossible to pin, so I oversew them instead, then add my final stitching.
- Tack down the pinned side from tip of the toe to the heel.
- Repeat on the other side.
- Work your final stitching in the same way, starting at the center of the toe down to heal on both side. You may find hand sewing the footpad give you best results.
- Turn the leg through to the right side and tease out any trapped fur in the seams as we don't want to spoil all our footpad work !
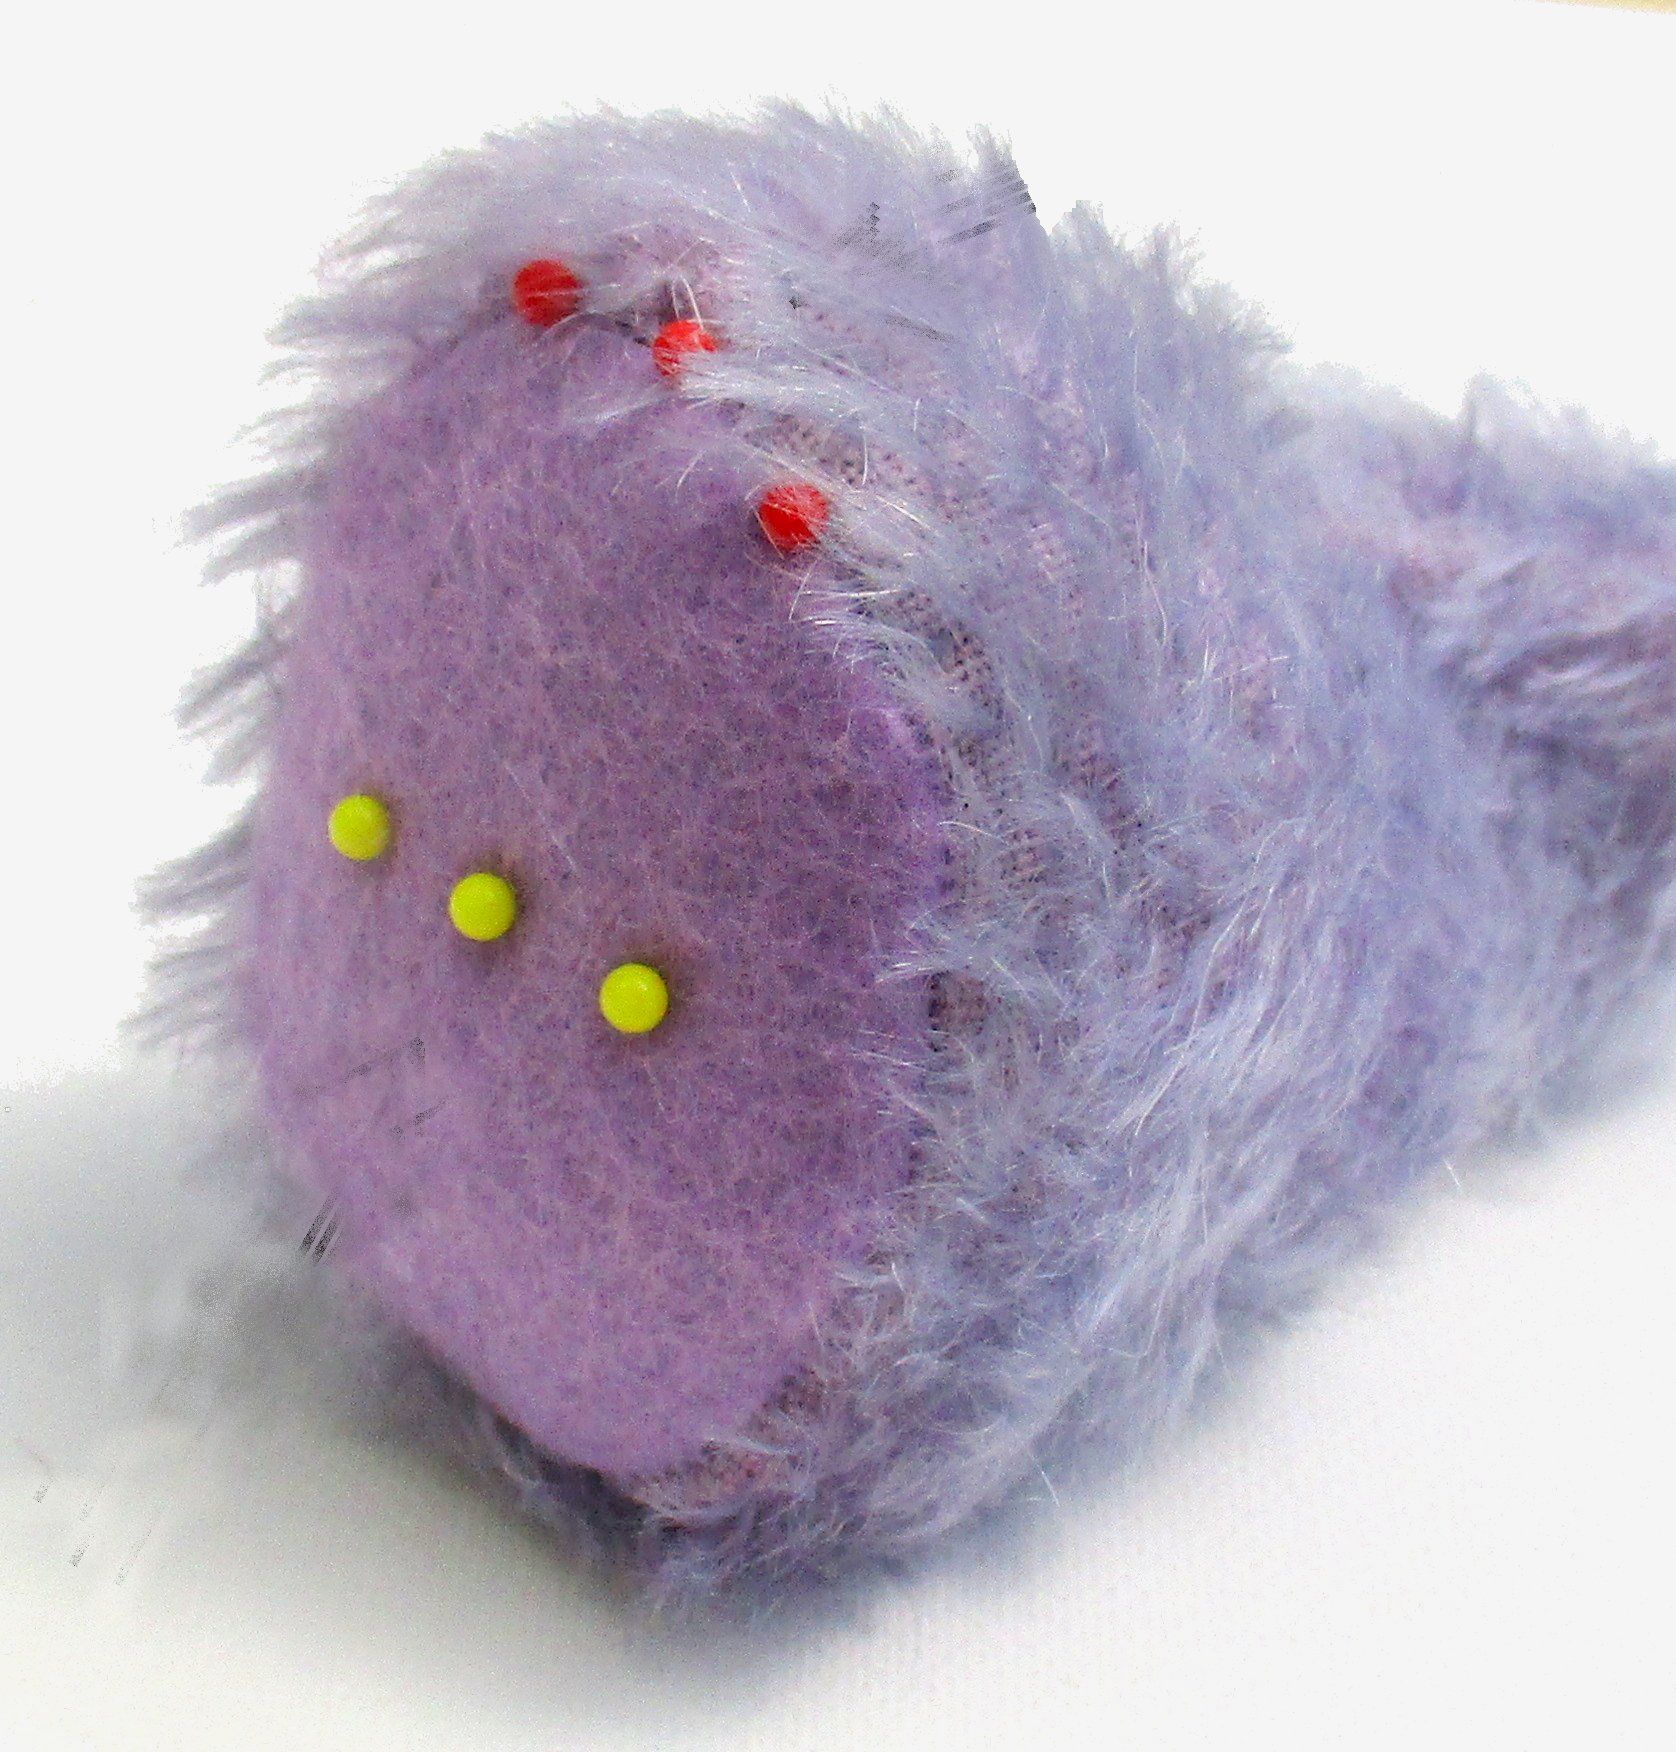
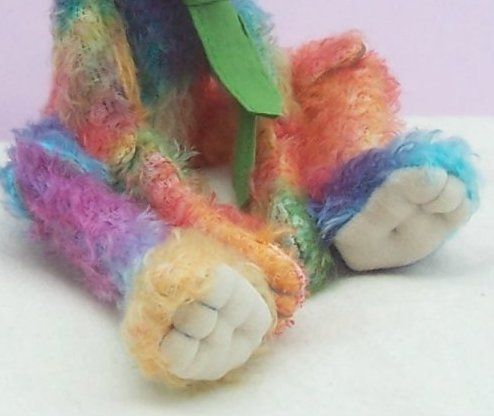
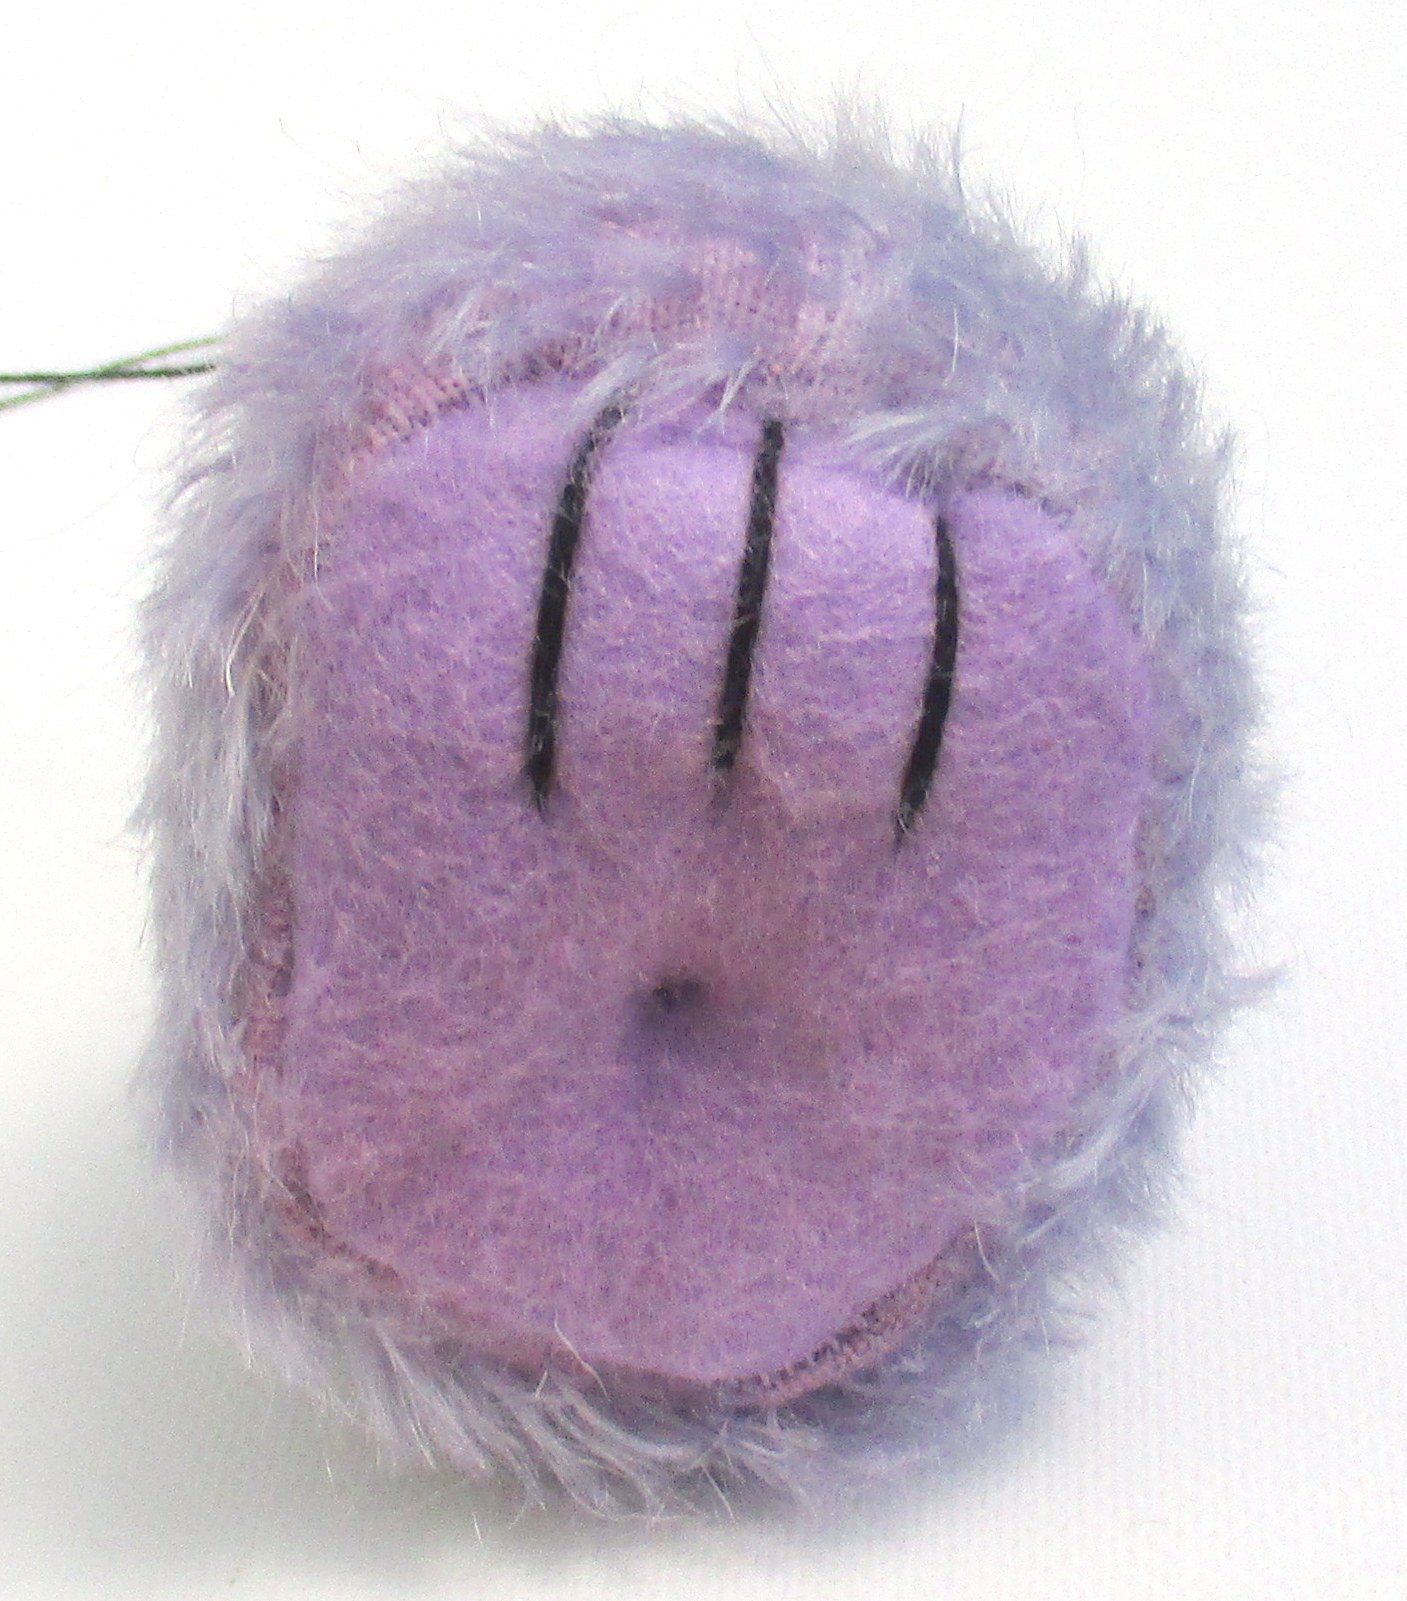
- Although the picture above is titled pinning the toes, we are actually marking "between" the toes : ))
- Pin the base of each toe. We are going to use the foot seam as our guide for the top of the toes. Place pin in the seam above to mark the top of each toe.
- 3 pins will give you 4 toes. If you want just 3 toes, you use 2 pins.
- Anchor your thread by taking it through the foot 3 or 4 times until you feel it "catch" in the stuffing (this avoids a knot). Perl No 8 thread is my favourite for embroidering toes, but you can use stranded thread too. For smaller bears, split thread and just 2 or 3 strands to work the toes.s
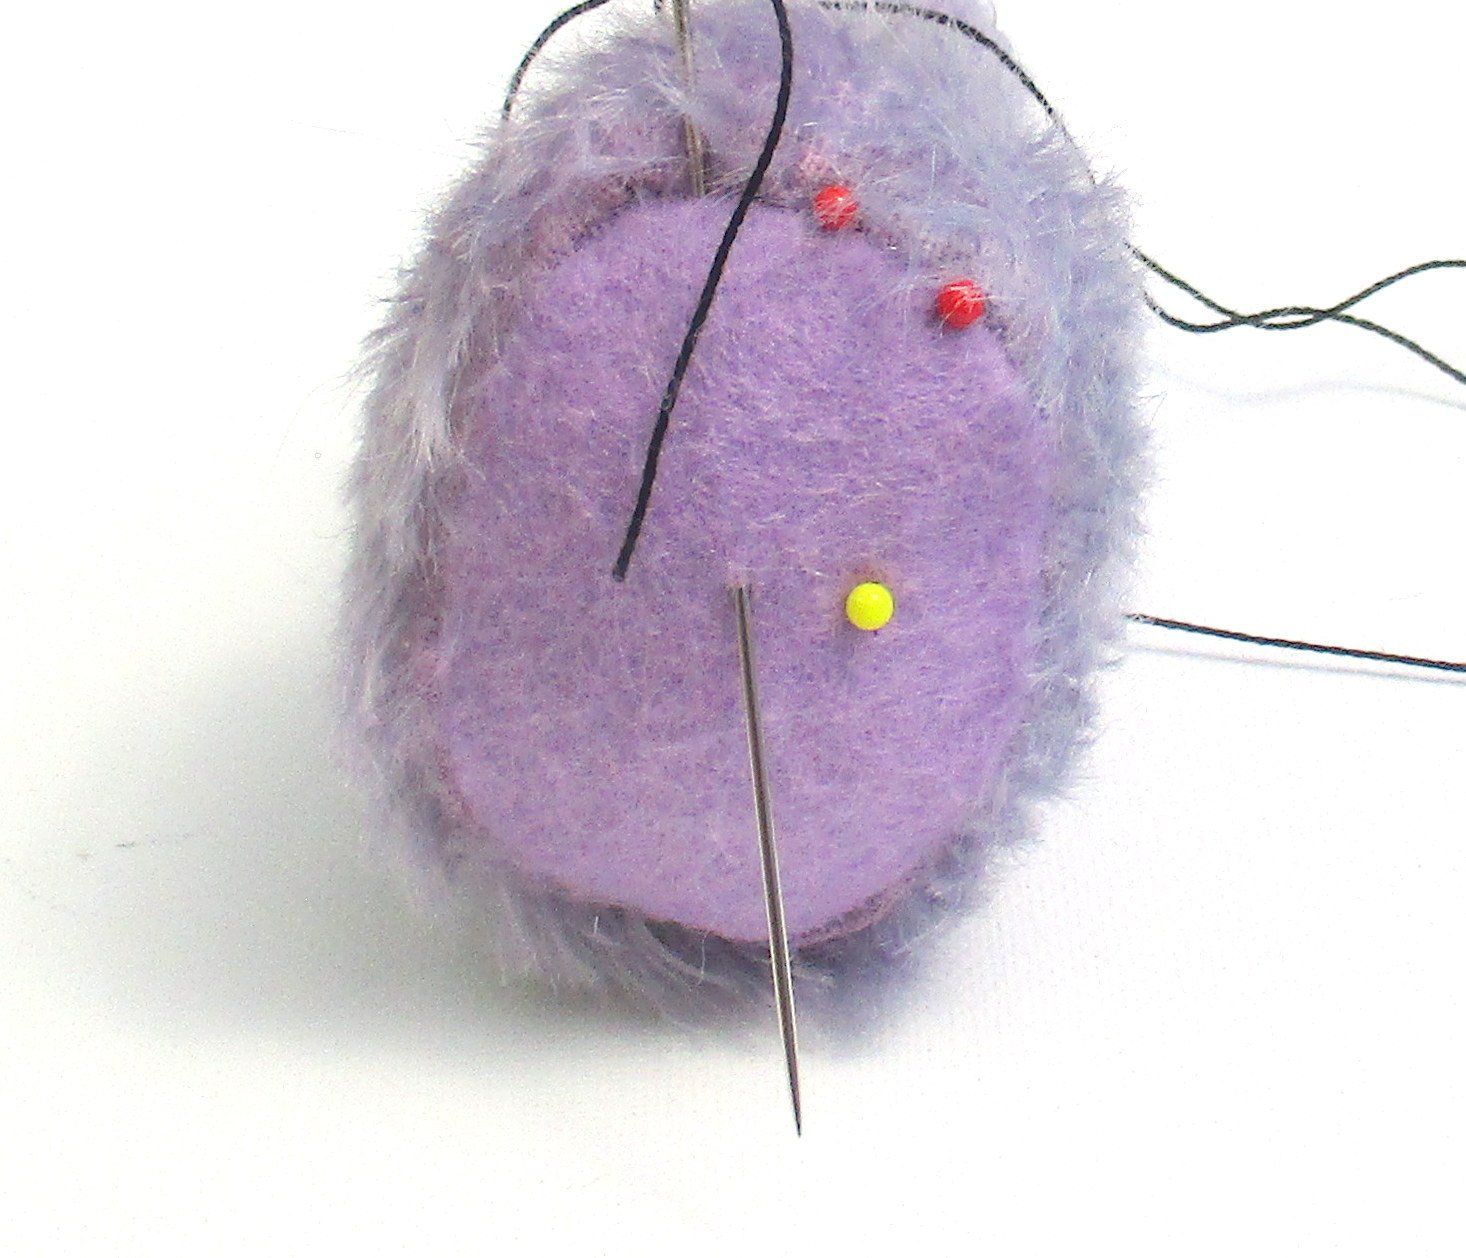
- Bring your thread out at the first pin below and down into the pin above (removing pins, of course : ))
- Bring the thread out at the next pin and into the pin above, working along the foot this way until you have all your toes in place. Keep your thread fairly taut as you embroider. A little pulling is fine. Too loose and your toes will be lost.
- Work back along the toes a second time then take your thread through the foot a few times again. Pull it taut and snip close to the foot to finish.
STYLING FOOTPADS
There are a number of little additions to make your ted's footpads unique. Here are a few of my favourite footpad stylings.
.
ADD A DIMPLE
One of the simplest but cutest little additions is a small dimple in the centre of your ted's foot.
- Very simple to create. Just bring your needle out at the center of the foot and take a small stitch (size of the dimple will depend upon the size of bear (about 4 or 5mm stitch should be fine for most).
- Keep the thread quite taut and come out in the footpad seam above.
- Pull gently on your thread to create a small indent in the footpad.
- Keeping the thread taut take a small stitch back down through the foot to the stitch below.
- Repeat this 2 or 3 times until you are happy with your dimple.
- Take the thread through the foot 3 or 4 times, then cut to finish.
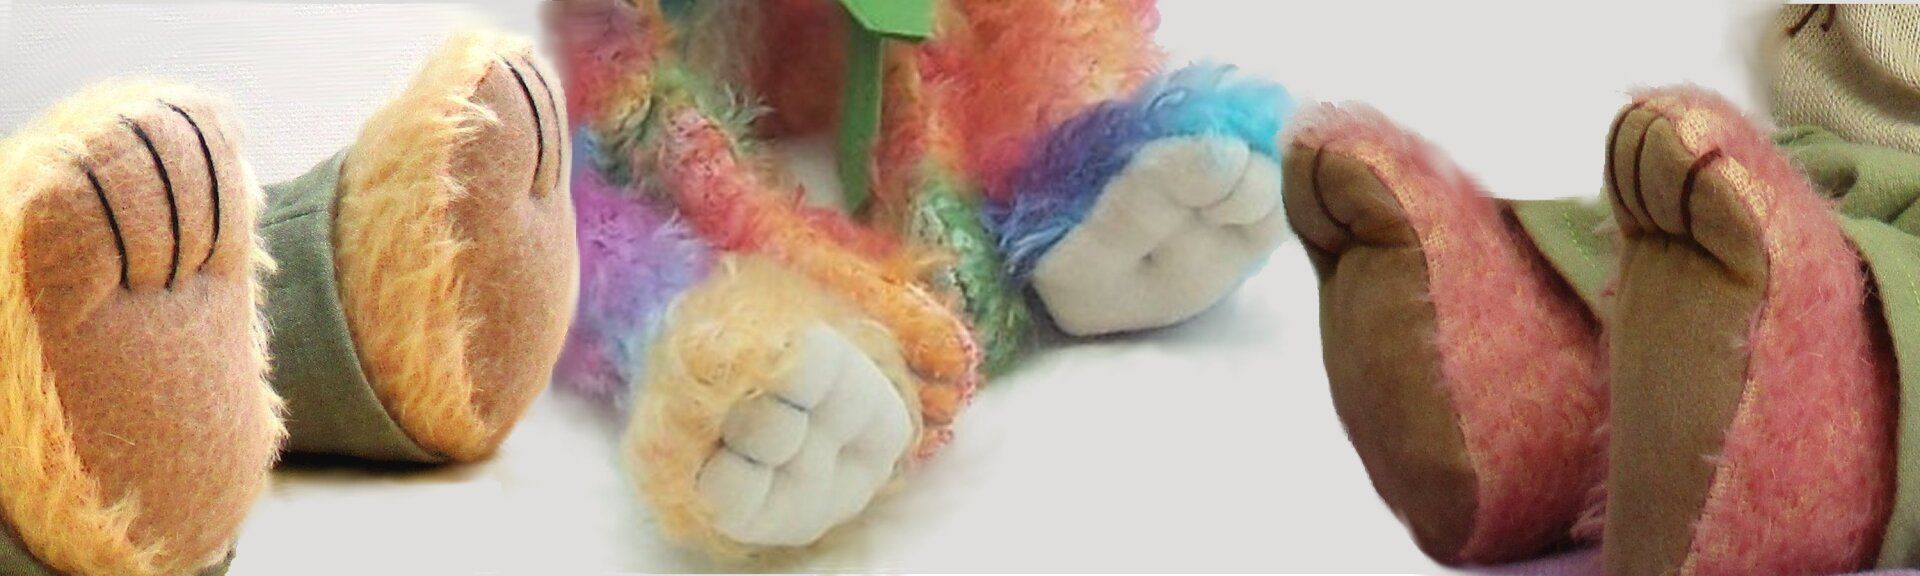
SCULPTING FOOTPADS
I love creating these chubby toes. They give your ted's feet a lovely 3d look and can be worked on previously embroidered toes. These look stunning with the addition of a little shading too.
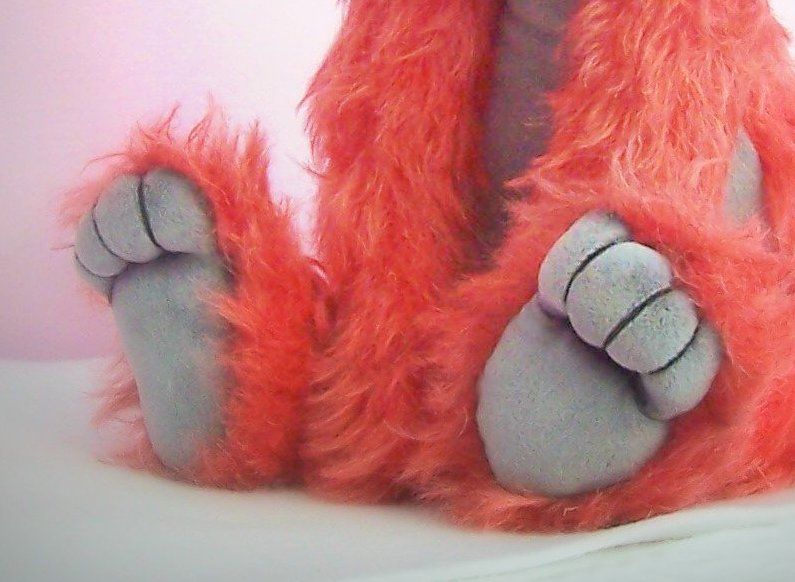
SCULPTED TOES
- You will need strong thread (something like upholstery thread that is strong enough to allow you to pull on the thread, without breaking (and having to start all over again ! )
- We'll be sculpting into the seam at the top of previously embroidered toes. Instructions on embroidering above.
- Let's start : ) Bring your thread out at the the base of the first toe and take a small stitch (no more that 2 or 3mm) exiting come at the top of the toe and in the foot seam.
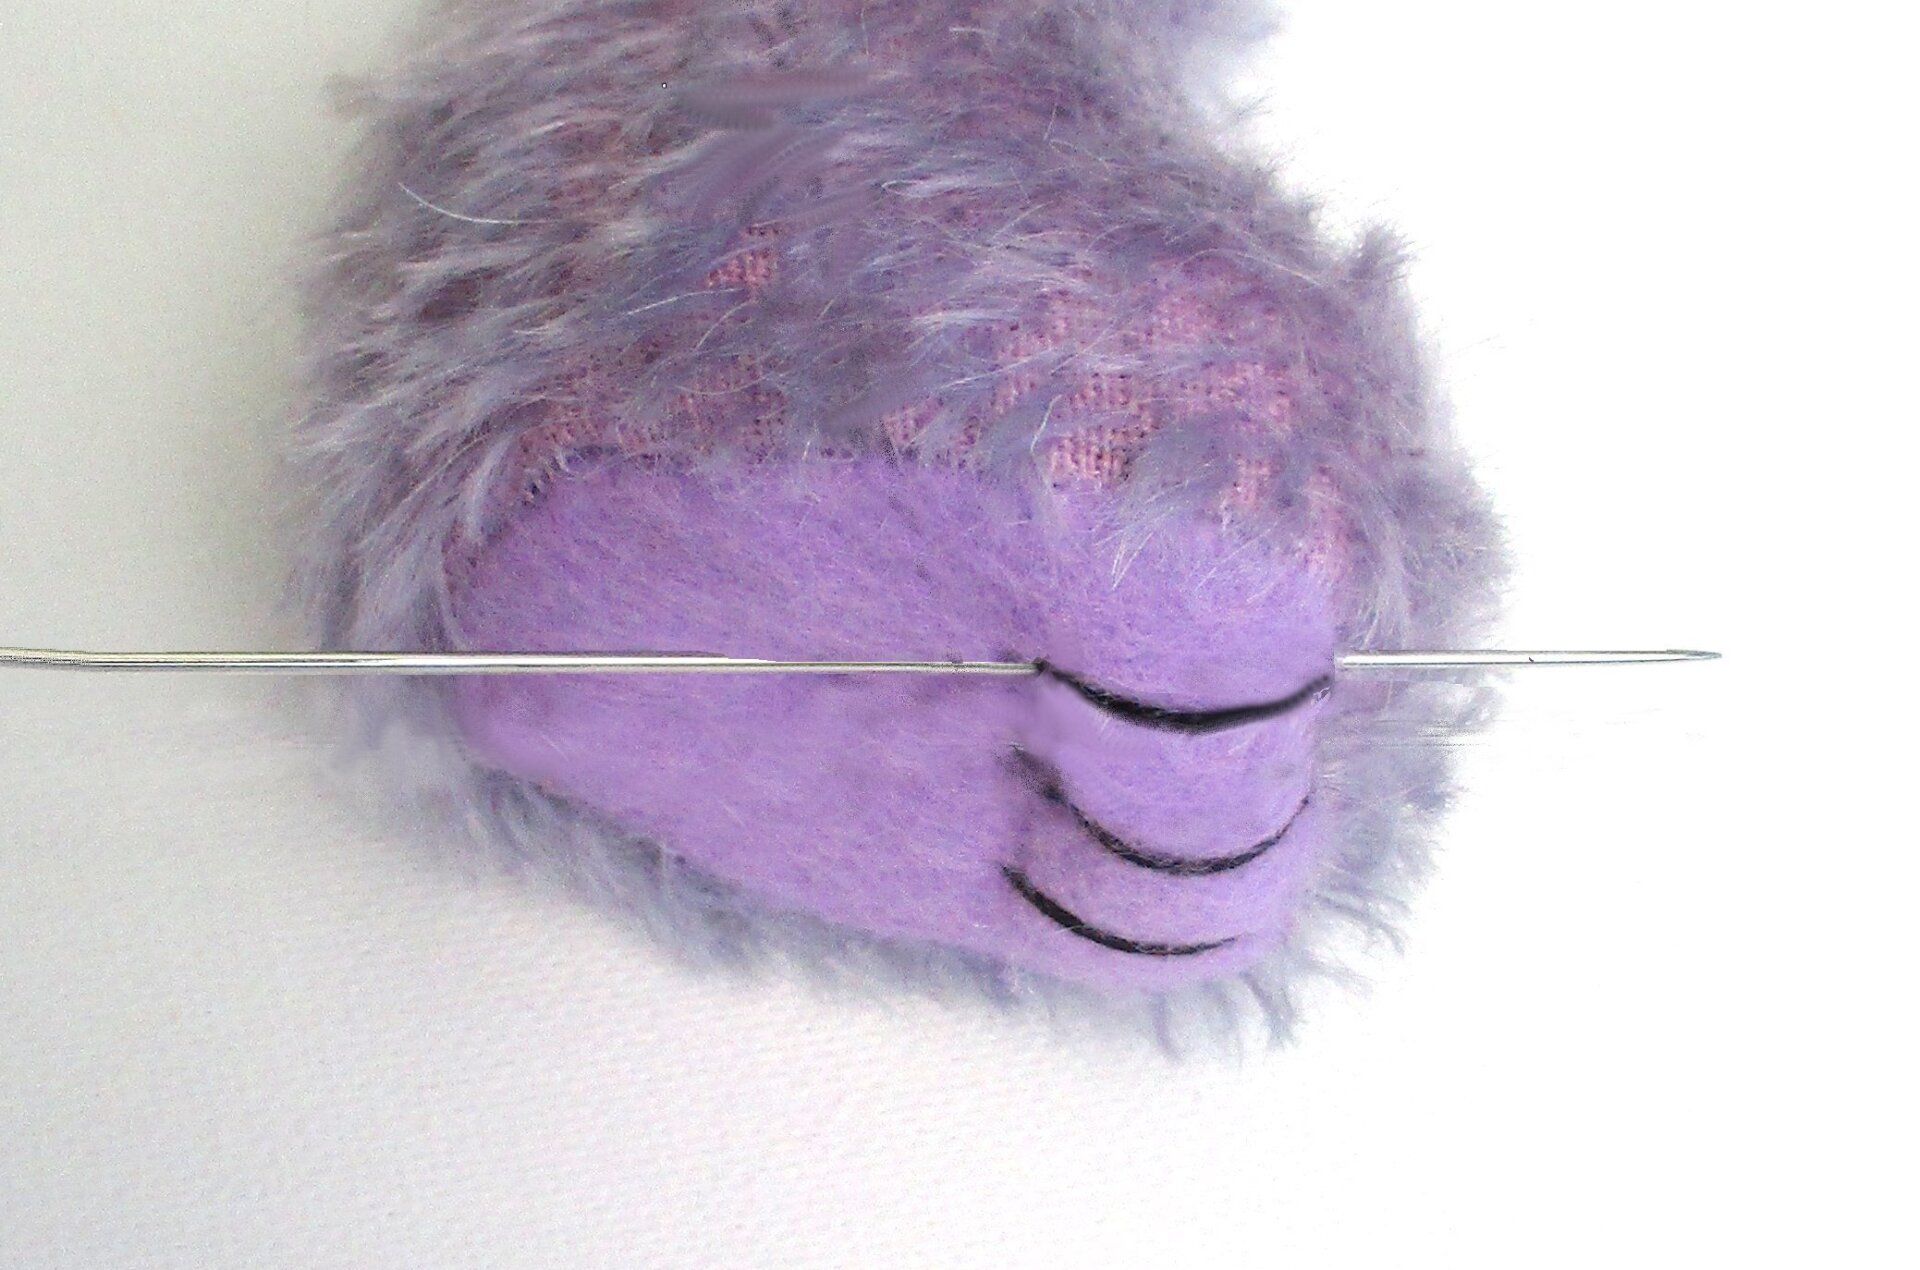
- Make sure to dip your needle behind as much of the stuffing as you can to create a nice rounded toe.
- Work along all each toe in this way, keeping the thread taut as you stitch.
- You can repeat the sculpt again. Each time will create deeper sculpted toes.
- Be aware that sculpting the toes will make them look shorter.